DIY: Guilded Wall Lettering

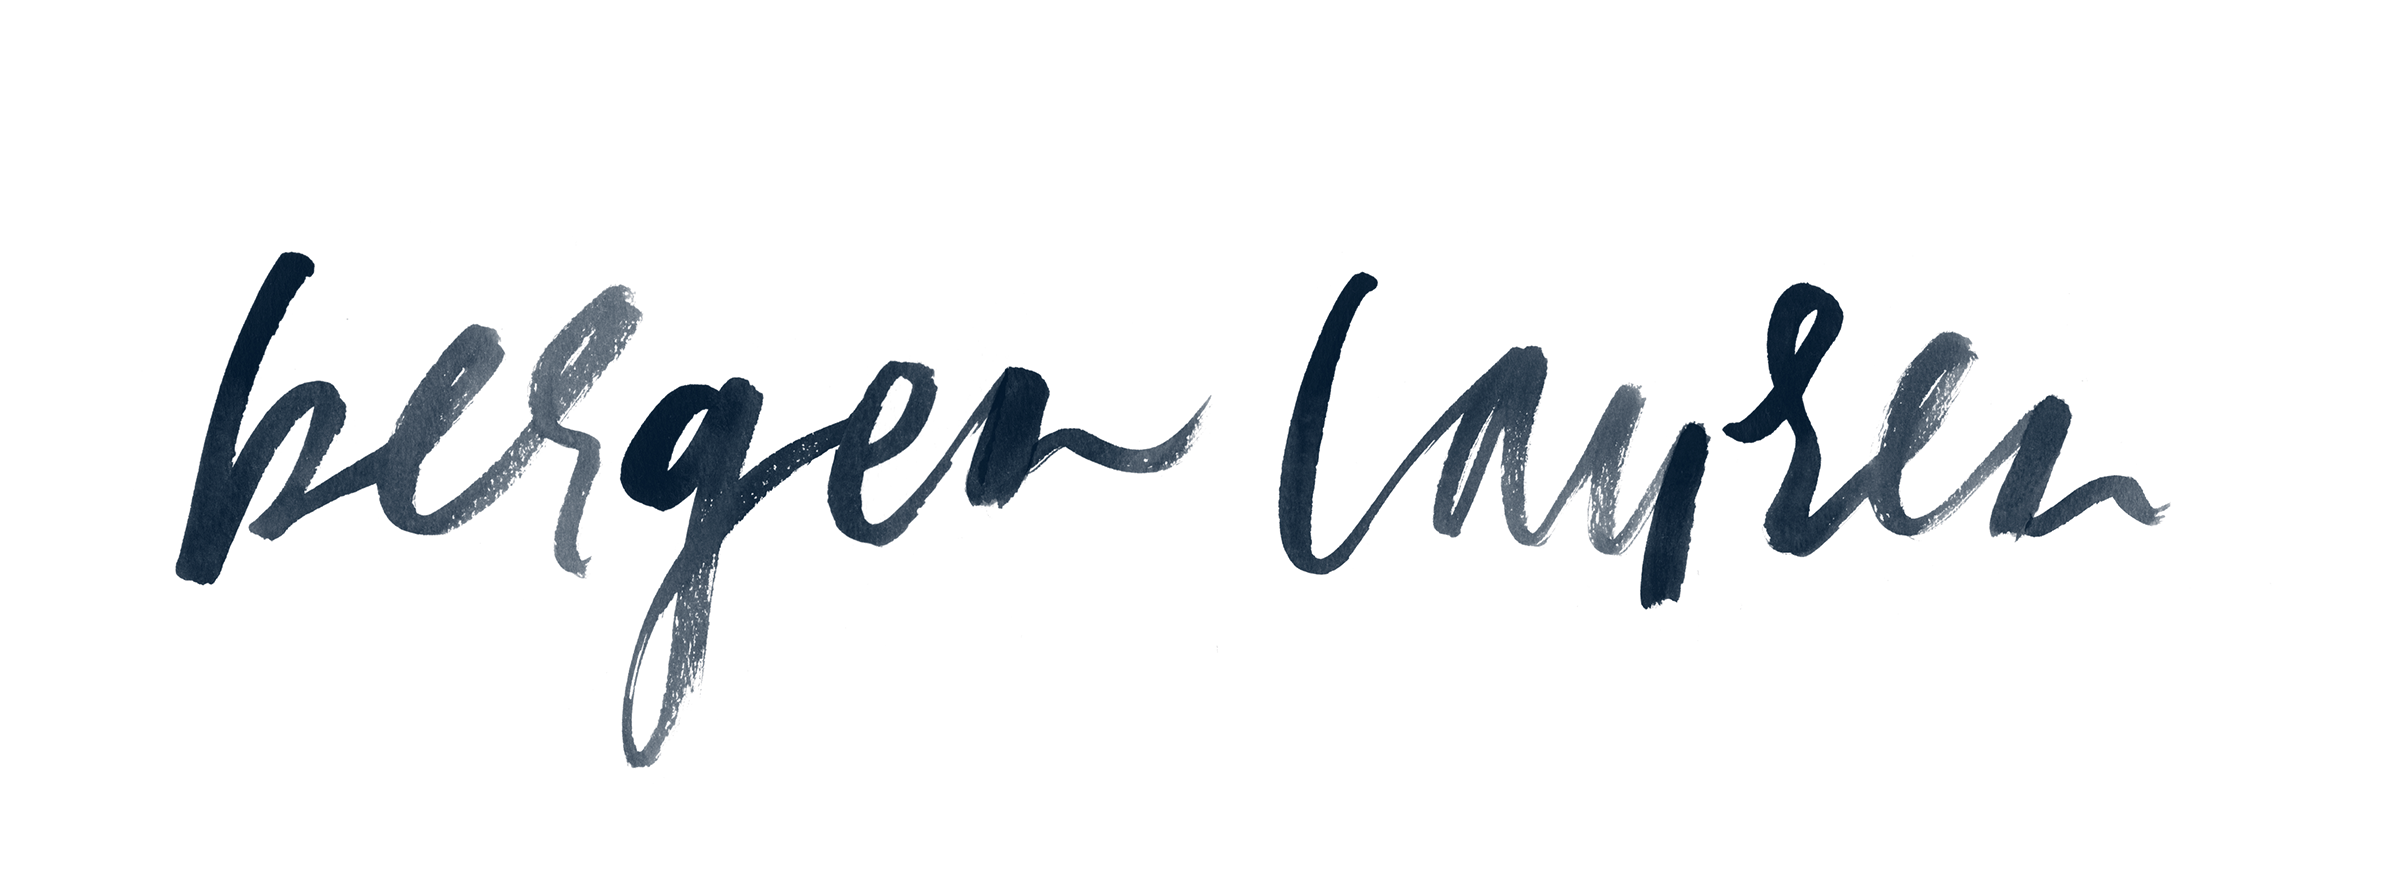
This project for the newly opened, incredibly chic, Tropez salon here in Wilmington has me on cloud nine! Not only was I able to paint an oversized brush lettering mural on a wall (love that 9ft wide, dramatic art), but I was able to cover it in 18k gold! Talk about a statement piece! You guys, let me tell you, guilding lettering on your walls is so simple. Here I will take you through everything you need to know to create some major statement on your walls at home!
You will need:
- oil or water based size adhesive - There are numerous options when it comes to gold leaf adhesive, and your project will determine the best option. For the 9ftx2ft lettering, I worked with an oil based size: Dux Quick Dry Oil Size. With adhesive size, water based can sometimes tack up a bit and not give you as smooth of a finish. With guilding something like a clean interior wall, I wanted to gold leaf to have a very smooth, consistent finish. That is why I went with oil based size. I also chose a size that was quick drying. It tacked up in about an hour and stayed open (or tacky) for another couple of hours, so I could adhere the gold leaf. Also note this: a little goes a long way. I bought a quart of size and probably only used a half a cup for the entire 9ft project.
- normal paint tint - Before starting the project, I stopped in to a local paint store to pick up a little cup of gold paint tint to mix with the clear size. I wanted to be able to clearly see all the brushstrokes as I was painting the letters on the wall. Be sure to take your size to the paint store with you, so the paint expert will know to give you a tint that will mix well with your size.
- brushe(s) - Depending on the type of letters you will be doing, you can use any number of brush styles. I used an angled edging brush for painting walls. The bristles were stiff, so I could leave noticeable brush strokes in the letters. You will also need a soft brush to dust off excess gold leaf when your project is fully dry.
- gold leaf - I highly suggest buying a gold leaf booklet for a project like this. The leaf is so delicate that having it on easy peel-off papers will make your life so much easier and save you a ton of time. You can find all sorts of options HERE.
- optional - acrylic sealant. If you are putting gold leaf on a surface that will have a lot of human interaction, a sealer is a really good idea. In this particular application, I did not use one. We wanted the finished product to look more hand done without a lot of sheen.
- other supplies - a stirring stick for your tint and adhesive, a disposable paint bucket, pencil, old clothes.
Below I will take you step-by-step how I created guilded wall hand brush lettering. Feel free to always go with your own flow and do what works best for you!
FIRST: I prepared my work area and arranged all my supplies. I set down a drop cloth, made sure I had paper towels handy, etc... I then made sure the surface to be guilded was clean, as smooth as possible and dry. I dusted the wall with a microfiber cloth to be sure.

SECOND: I projected the image of my hand brush lettering onto the wall. You can definitely hand draw an image, but perfecting your image ahead of time and projecting it to the perfect size and proportions saved me hours! I then lightly traced the outlines onto the wall with pencil to use as a guide and turned off the projector.
NEXT: I began brushing the gold tinted adhesive I had mixed up onto the wall, roughly following the guide of the penciled lettering. Note: make sure you have very little adhesive on your brush if you are painting a wall (almost dry brush). This will not only keep you from dripping adhesive down the wall, as it is very thin, but it will also help you create cool brushstrokes that will come through when guilded.

THEN: By the time I was finished painting on the adhesive for both words, the size was tacky enough to start laying the 18k gold leaf sheets. I tore out a sheet of the gold leaf. With the gold side pressed and smoothed to the adhesive on the wall, I then peeled back the paper to reveal a perfect square of pure gold. I made sure to overlap the sheets a bit and lay the sheets a bit outside the edges of the letters to ensure complete coverage. I then used all the little bits and pieces to fill in tiny gaps, etc... For this project I used five full booklets of gold leaf.
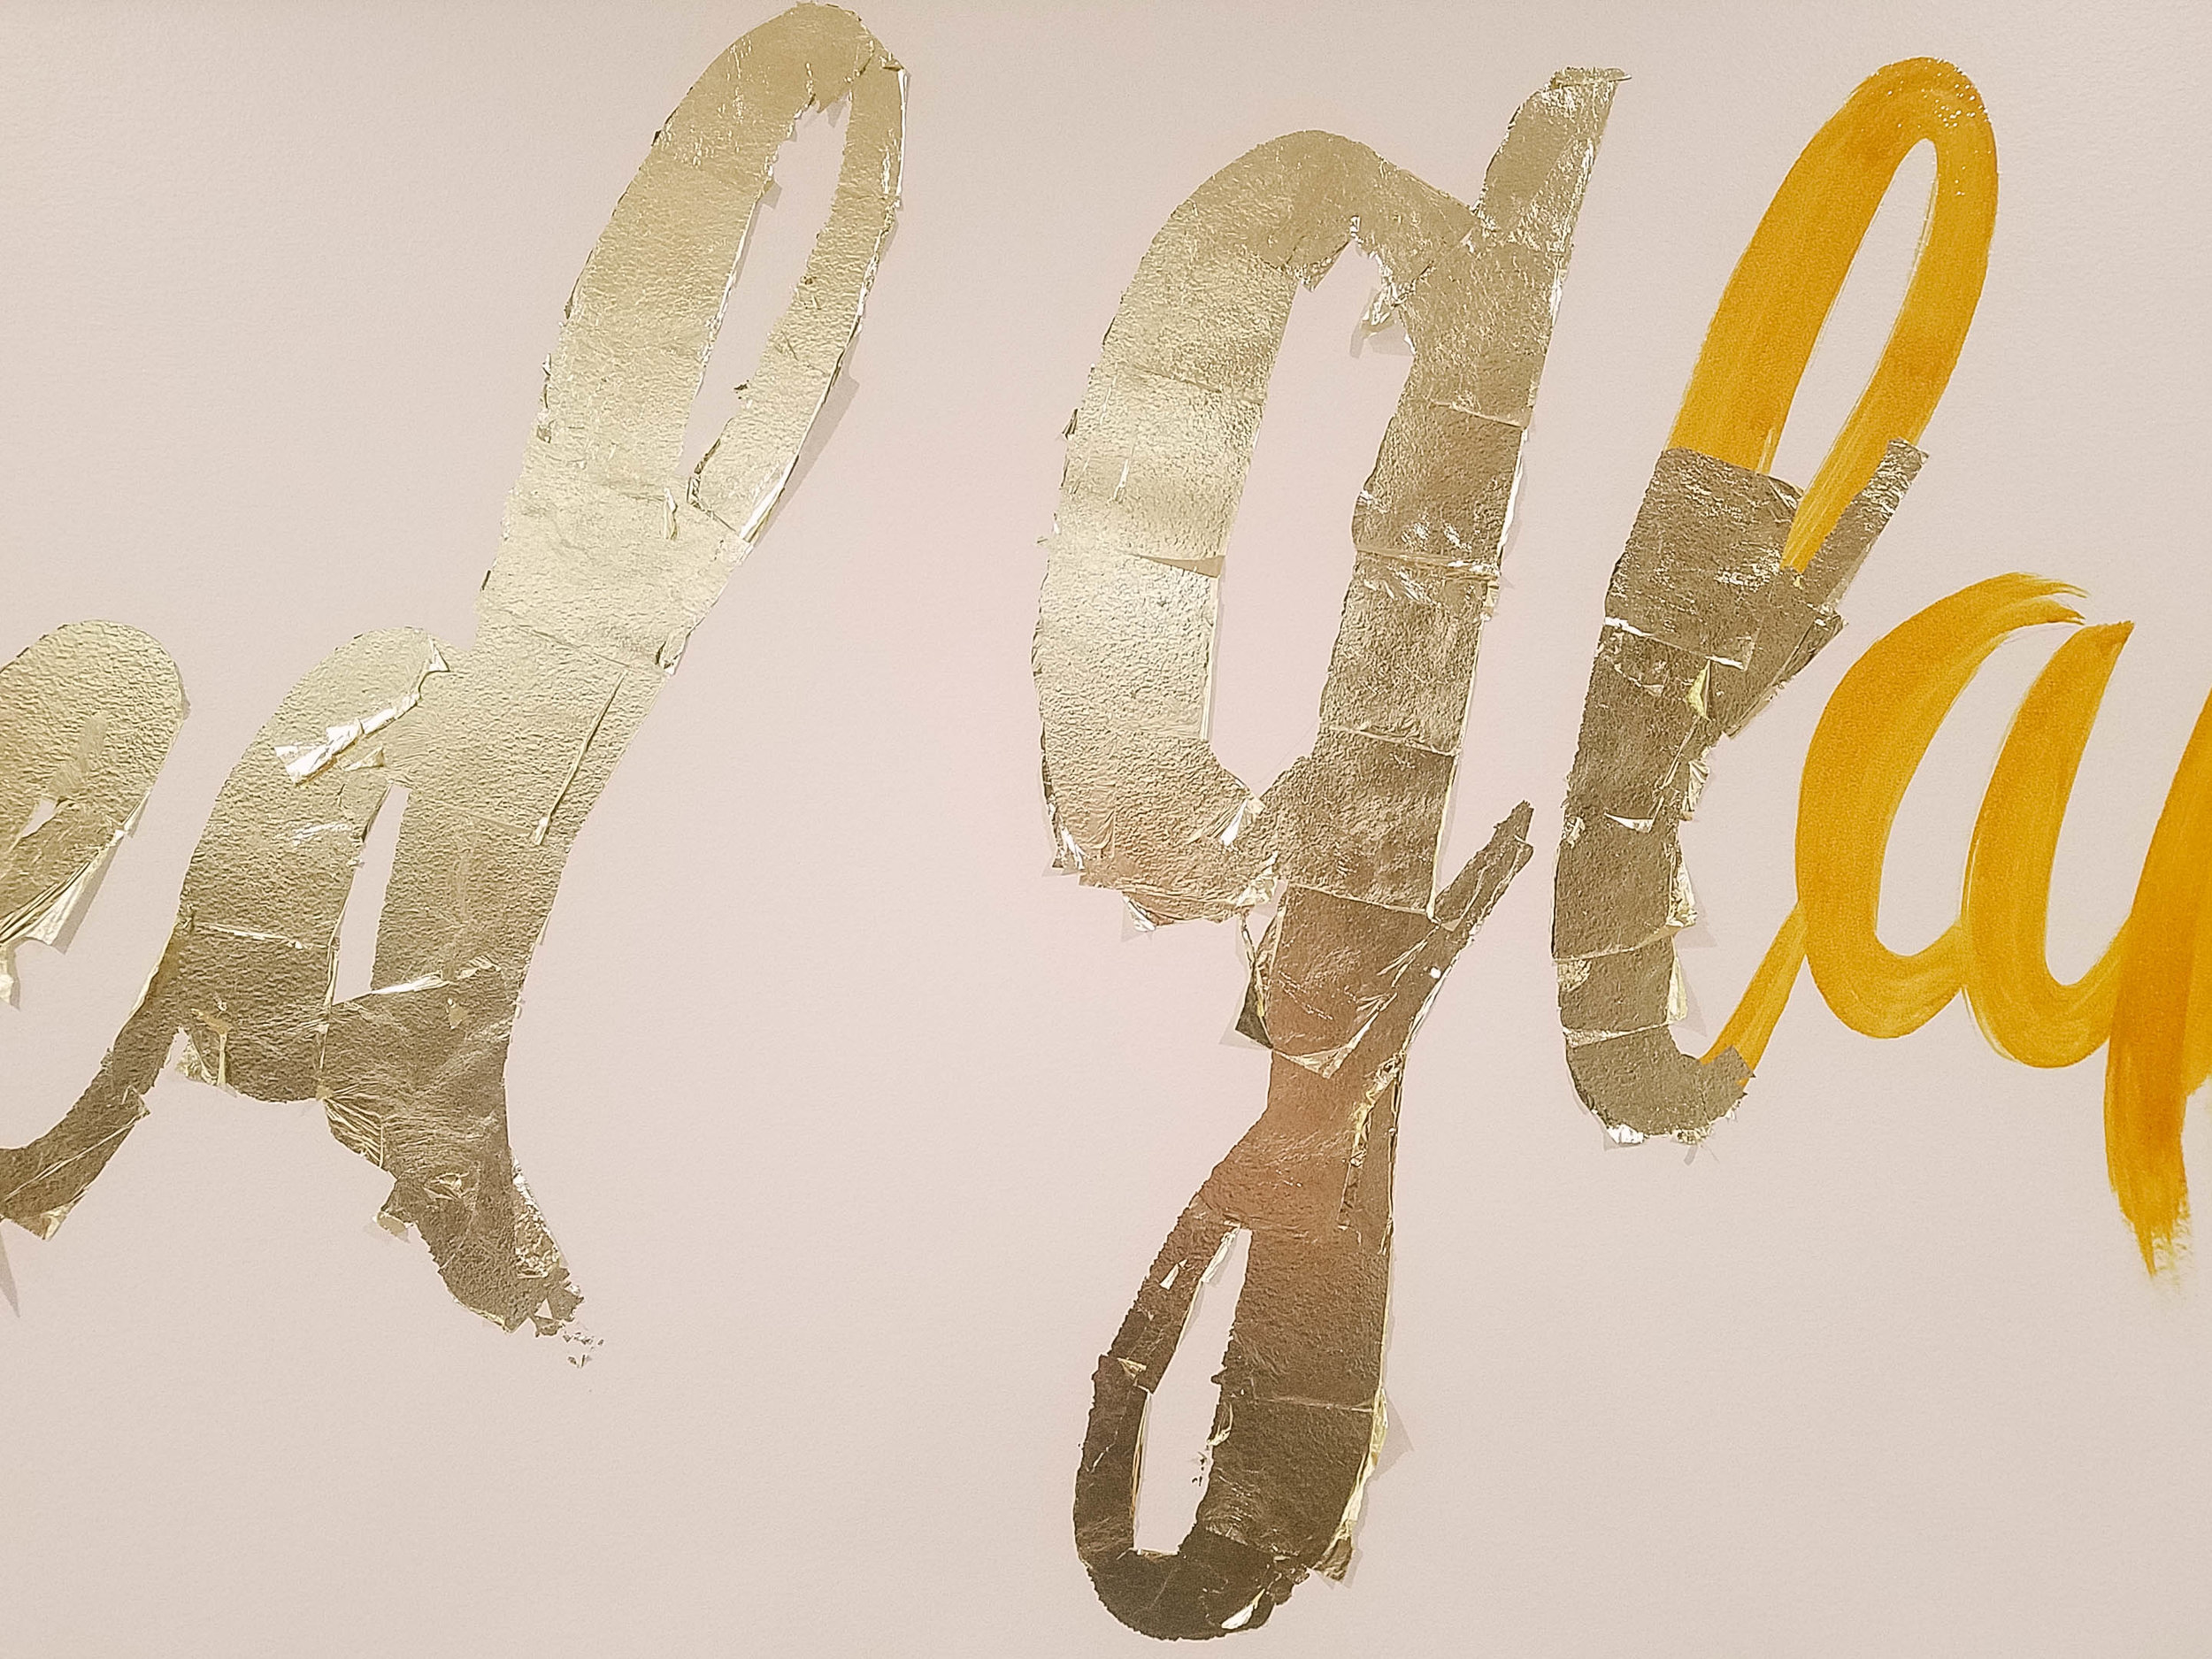

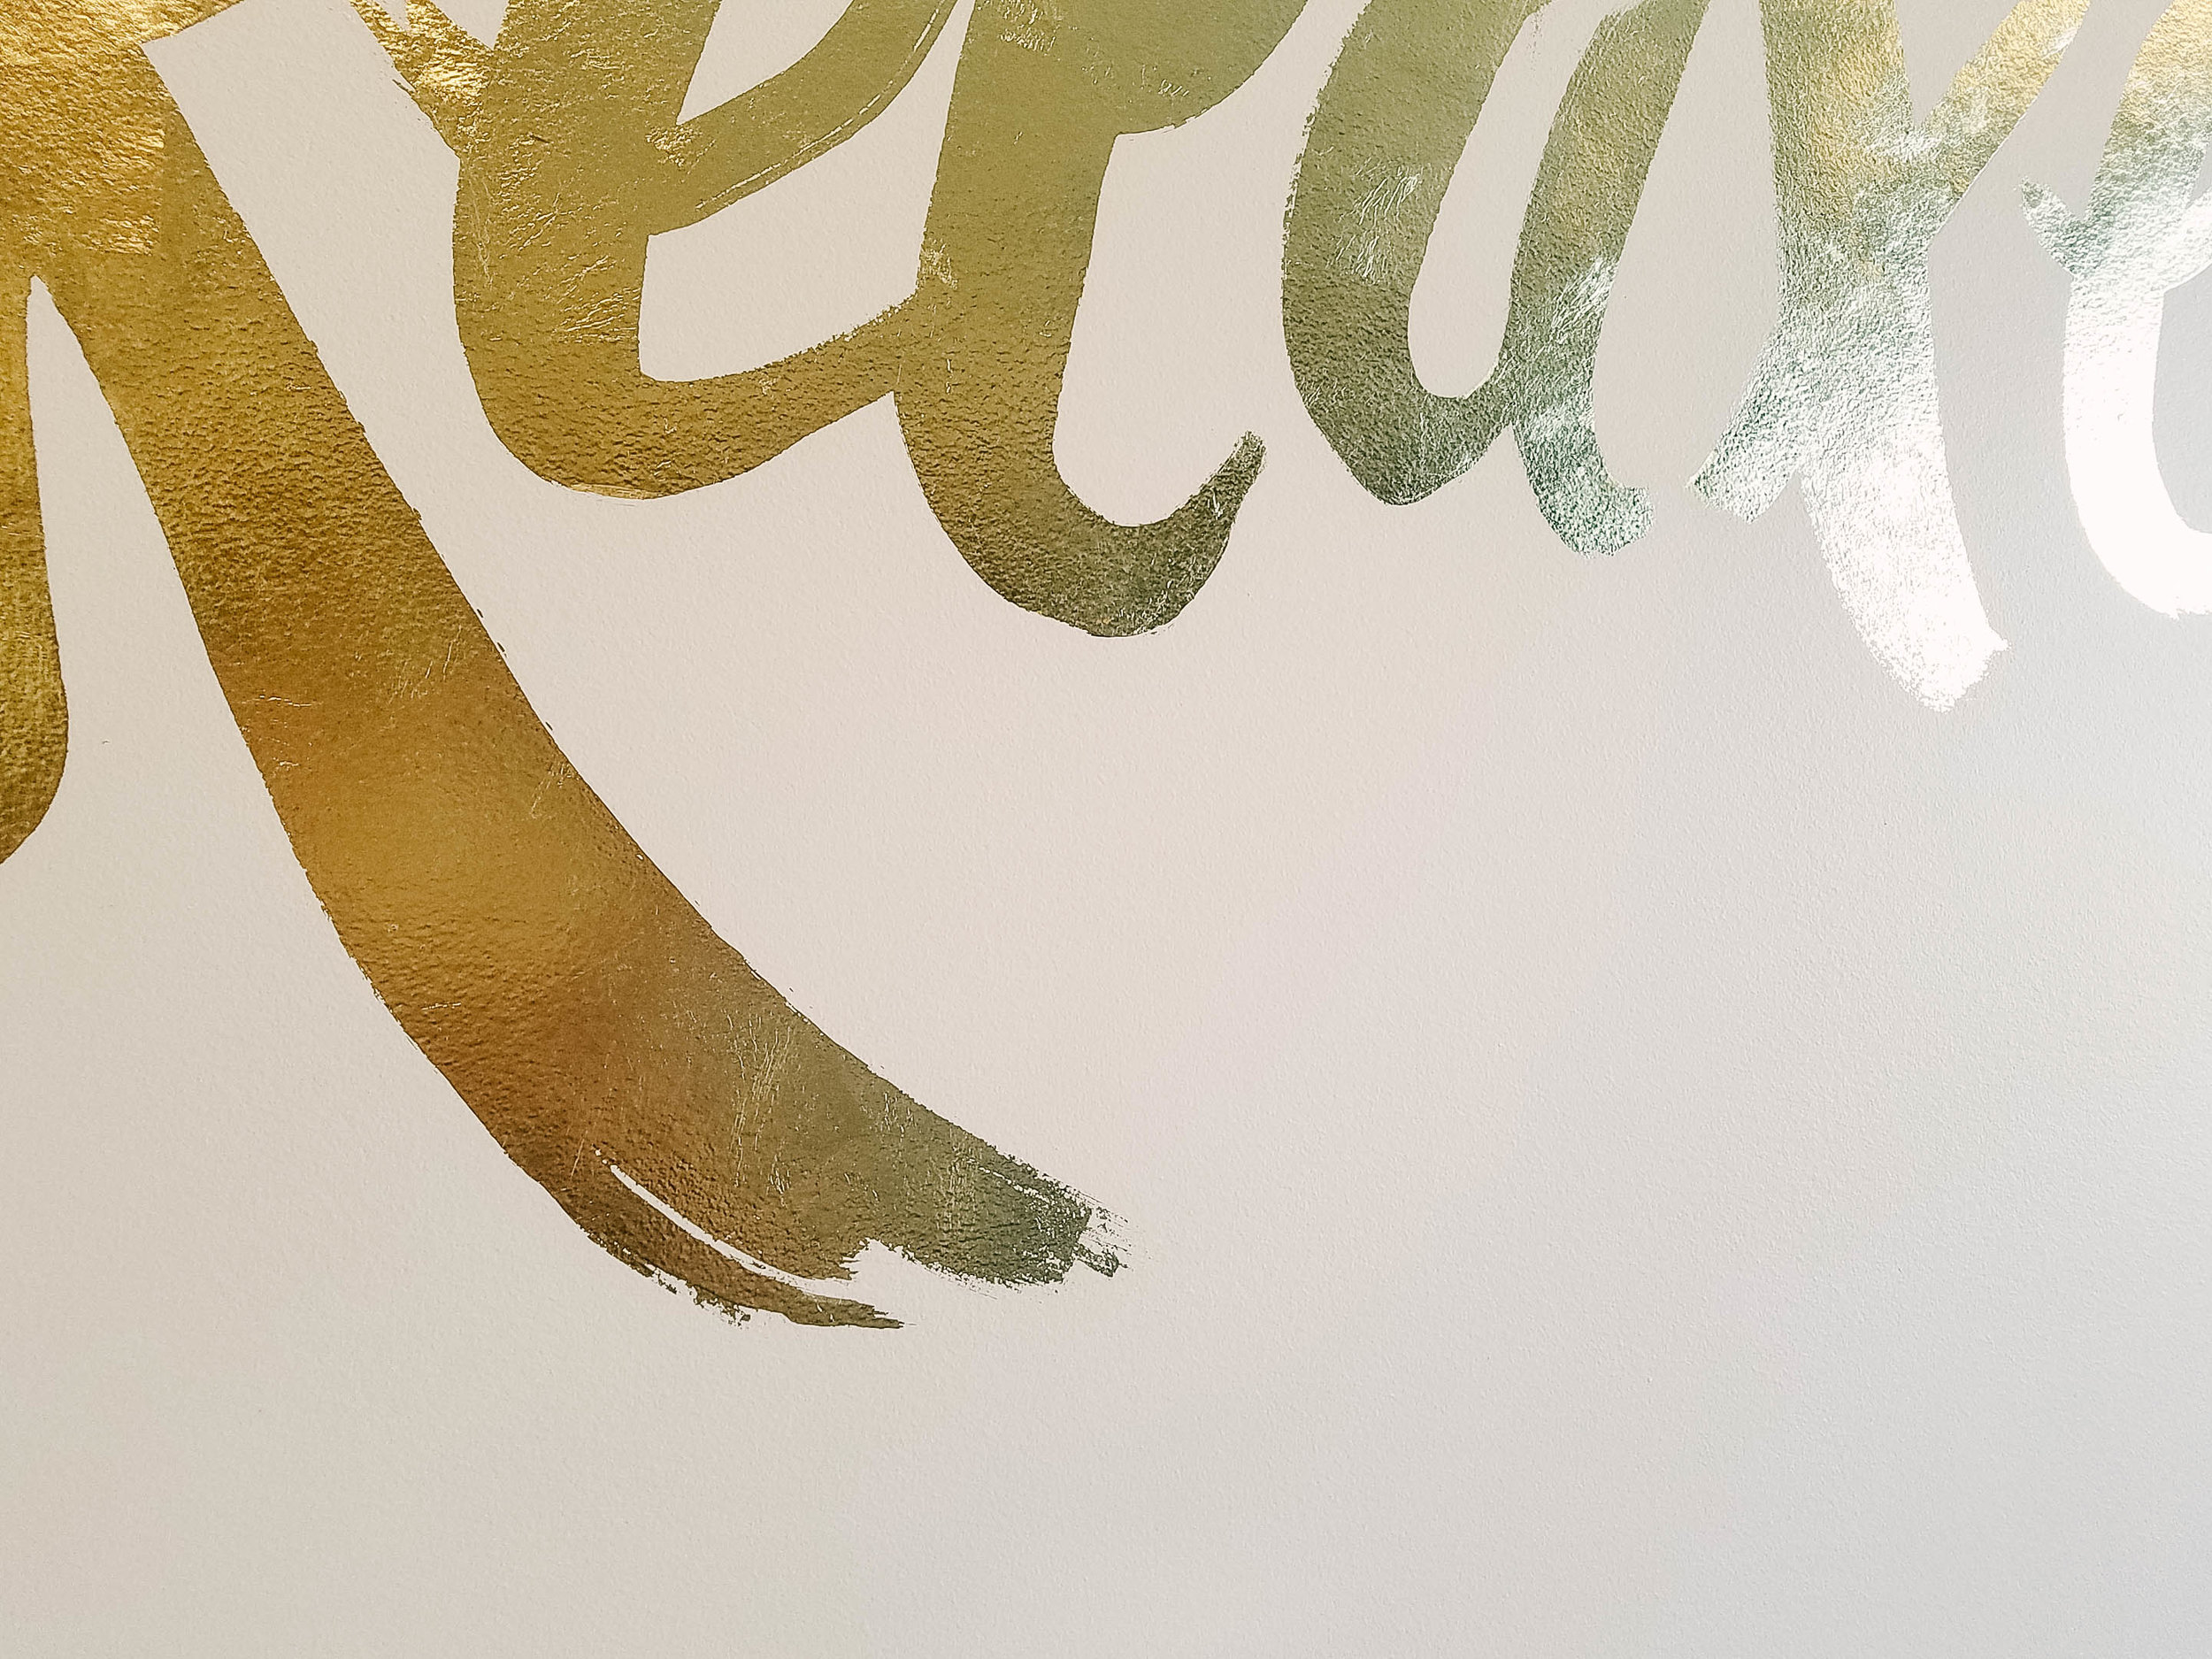
FINALLY: Once finished applying the gold leaf, I cleaned up and left for the evening to let everything completely dry. The next day I took a very soft paint brush (like a powder brush) and brushed off all the excess leaf into a bucket topped with a homemade paper funnel. Now, this did catch a lot of the gold leaf floating off the artwork, but some still dusted everything in the surrounding area. You might want to have a vacuum handy ;)

Tropez owner, Journee and I decided not to add a final coat of varnish to the lettering, as she wanted it to have a somewhat relaxed and laid back feel: nothing too shiny. Bam! The finished piece is a statement to say the least, and it was so much fun to create for Tropez salon! Now, I think I am in need of a trim.

p.s.- I would love to hear any questions you may have regarding this project, and I hope you have fun guilding up a storm! Cheers!